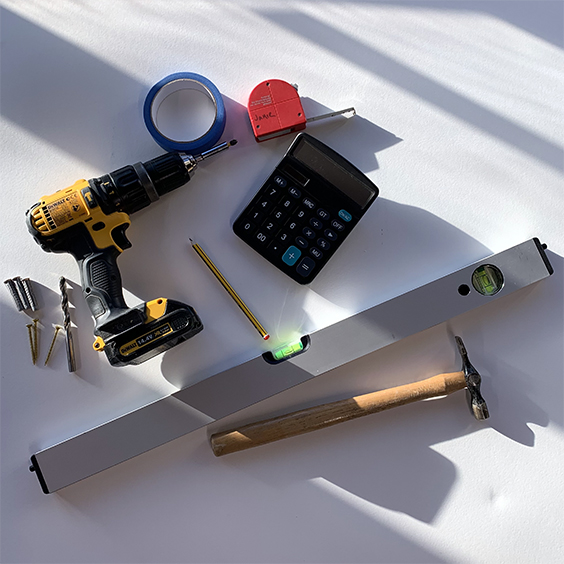
Tools you will need
Tape measure
Pencil/low-tac tape
Sprit level.
Drill and drill bits appropriate for the wall.
Rawl plugs appropriate for the wall.
Suitable screws
Tac hammer (to tap in the rawl plug)
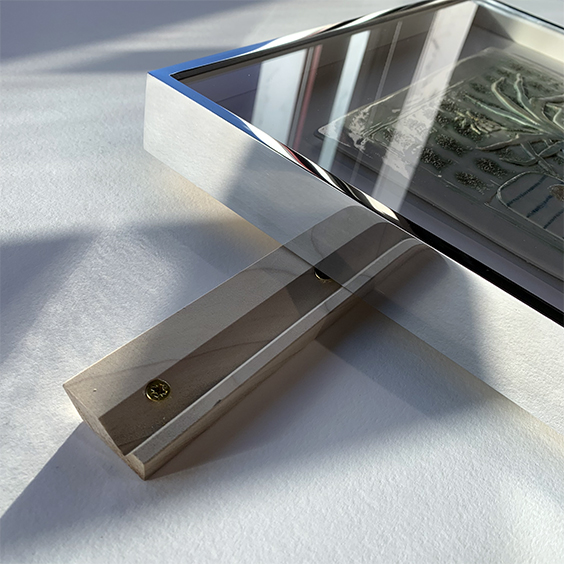
One
At the back of your frame at the top there will be a small wall batten blue-taped for transport to the top batten of your frame. Remove the tape.
Two
You’ll notice on the wall batten a number handwritten. This is the distance (in millimeters) from the top of the frame to the bottom edge of your wall batten.
Three
Decide of the placement of your picture on the wall and use a pencil mark or a low-tac tape to mark on the wall the top and centre of your frame.
Four
From the mark you have made measure down the distance (in millimeters) that we have notated on your batten. This will be the bottom edge of your batten.
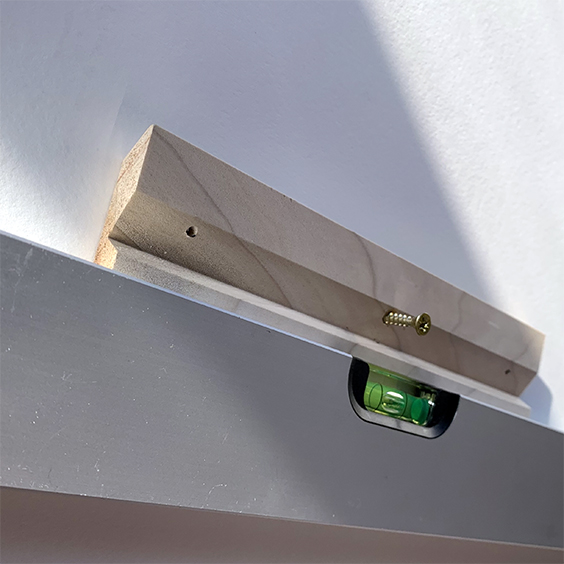
Five
Hold your wall batten up to that mark on the wall, with it’s bottom edge aligned to the mark. And use our pilot hole in the centre of the batten to guide your drill bit. This is where you should locate your rawl plug and screw (see part 6).
Six
Without the batten in place use the mark or pilot hole you have made in the wall to drill a hole to the correct width and depth for your rawl plug and screw.
(For almost all wall surfaces we use a screw size 5x50mm).
Once you have tapped your rawl plug into the hole hold your batten in place and drive the screw through that central pilot hole and stright into your rawl plug.
(it can be a good idea to initially drive the screw through the batten by just a few millimeters, this can help by feel to locate the screw over the rawl plug, but it’s important not to drive it fully through the batten as the batten will spin and scratch the wall when you fit it.
Seven
This central fixing that you have just placed determines the overall position of the batten. The holes either side are useful to stabilise the batten in a level position but are not always essential, especially if the work is light weight and the central fixing is very firmly located in the wall. For larger pieces we would always advise additional fixings (see step 7).
Eight
To mark the left and right stabilising fixings first esure that your batten is dead level on the wall by balancing your spirit level on the top edge of the batten and making the central screw relatively secure. Then use the left and right pilot holes in the batten to guide your drill bit and mark the wall. Then loosen the central screw to allow the batten to tip out of the way while you drill and rawl plug the newly marked holes.
Nine
When the rawl plugs are in place make your batten level again and secure the central fixing, then carefully drive a screw in on either side. It can be helpful to have your spirit level balane on top meanwhile and keep an eye on the level. Sometimes over tightening the screws can disrupt the level and it can be better that they are balanced rather than overly tight.
Ten
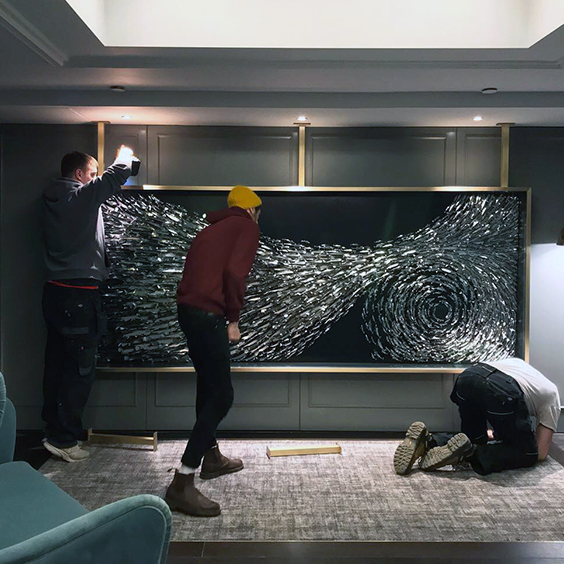
You are ready to lft and rest your picture on the wall batten. Make sure as you gradully let it down that you can feel good contact is made and you should see that the top of the frame meets accurately with your guide mark on the wall.
Eleven
Ideally the batten should be perfectly central to the width of the frame but as mentioned earlier the frame can be moved from left to right to some degree without problem. Please bear in mind that if you do need to do this please make sure to put in the stabilising screws discussed in part 7 or the weight of the frame will cause one side to dip.